Sunday, September 25, 2011

"Faith, Hope & Trick"

Buffy: "Well, I may not sleep in the nude and rassle alligators..."


Alligator Cupcakes!

One of my coworkers LOVES alligators.  So, for her birthday, I made the Alligator cupcakes from "Hello, Cupcake!"  Since Spring Break is the craziest week for the zoo, I had little time to prepare, so I purchased pre-made cupcakes designed for St. Patrick's Day and altered them.  They turned out pretty well, despite the time shortage. 


Later, for her son's birthday, she asked if I would do another set of alligator cupcakes.  MY FIRST PAID JOB!  I was super excited.  Since she needed so many cupcakes, I custom designed alligator themed cupcakes for her.  It was so much fun!

Ingredients (for custom cupcakes):

48 cupcake liners - I used blue, green, and black
48 cupcakes - vanilla and chocolate flavors
Vanilla frosting - half dyed "murky" green for the alligator, half dyed blue for the water
Chocolate frosting - for the mud
Green Licorice - cut for reeds/grass
Newman's Chocolate Square cookies - cut in half diagonally, for the armor on the alligator
6 1/4 Banana runts - 6 for the alligator nails, 1/4 for the bird
3 Marshmallows - 2 for the alligator eyes, 1 for the bird
2 Junior mints - for the alligator eyes
2 green jelly beans - for the nostrils
Swedish fish

For the most part, I followed the same directions from the " Hello, Cupcake!" Book (Old Swampy, pg. 85) for the alligator.  To include the additional cupcakes for the order, I decided an alligator coming out of the water would look nice.  I did a lot of counting out and pre-planning before knowing what liners to use and how to frost what color.

I started with the alligator first, piped the cupcakes with green frosting in a scaly look, and placed in place.  I did the mud cupcakes next, frosting with chocolate and placed in the box.  For the cupcakes on the water's edge, I frosted half the cupcake green or chocolate and then frosted blue.  I frosted the water blue cupcakes last.  Now that they were all in place, I started adding the extra pieces.

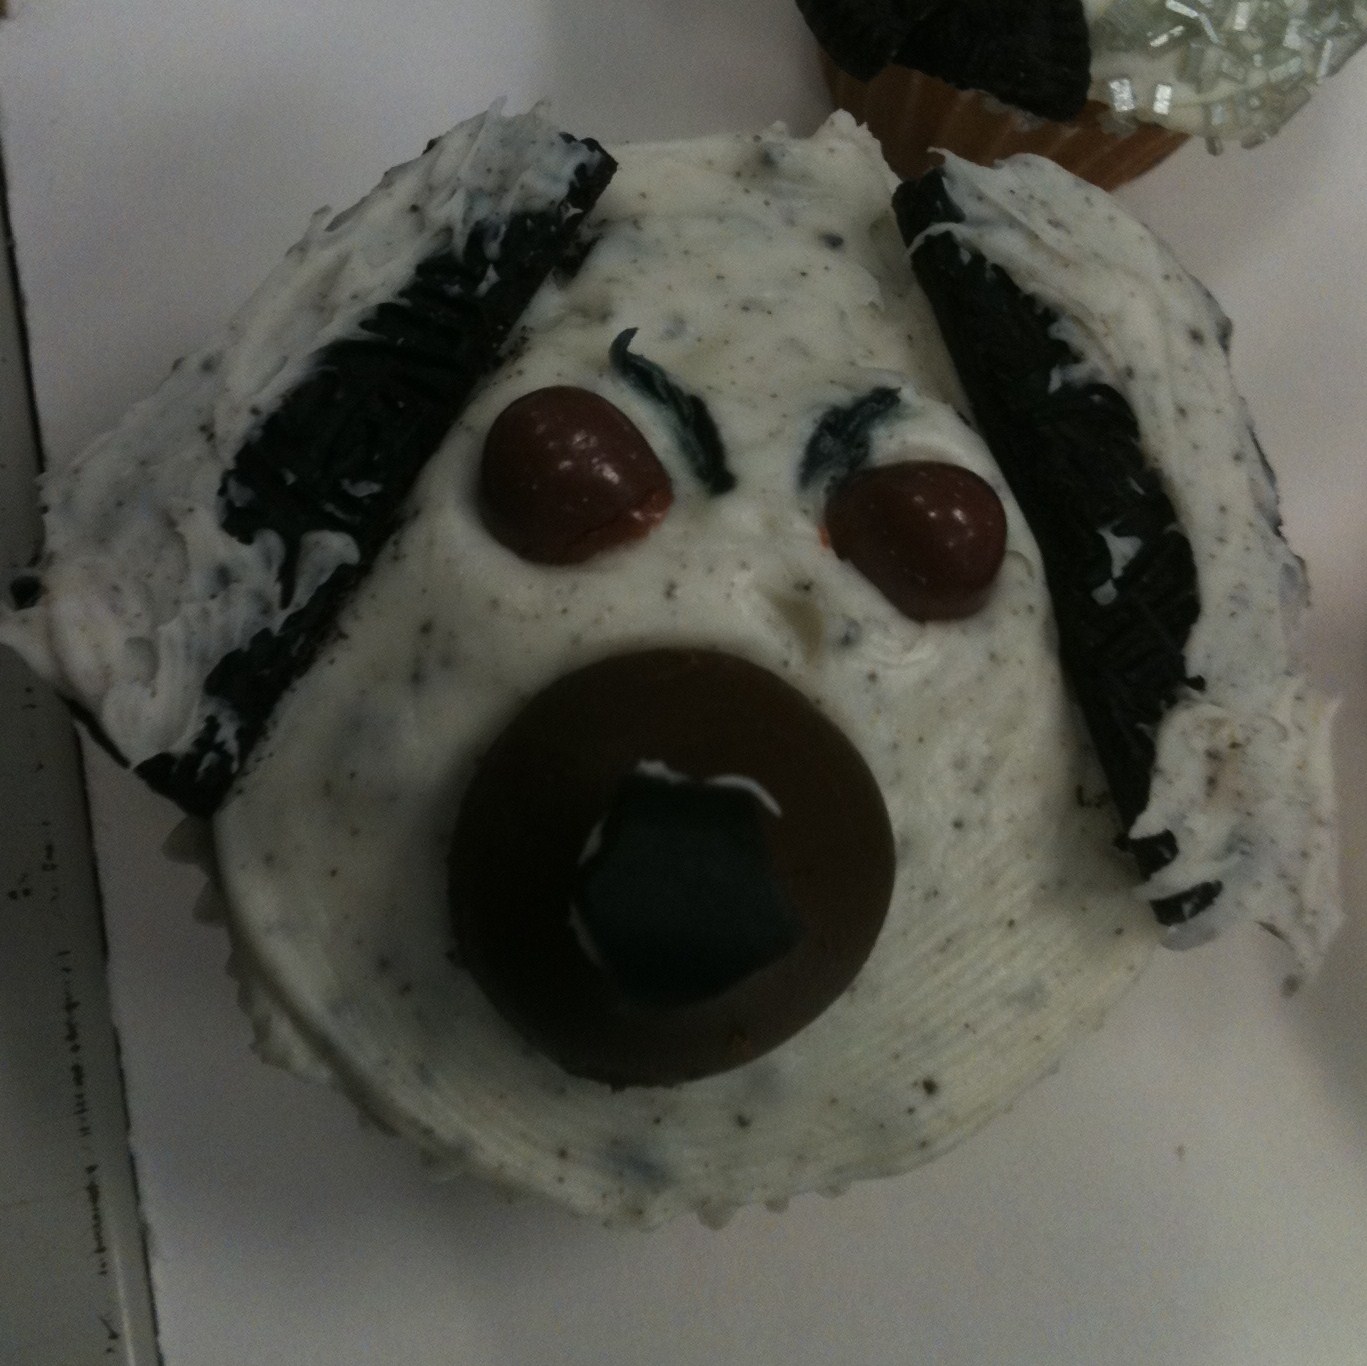
For the alligator, add the two green jelly beans at the end of the snout for the nostrils.  Then add the marshmallows and frost with more green frosting.  Pipe additional green frosting on the rims of the eyes more an armored look.  Add the junior mints to each side of the marshmallows for the pupils, using frosting to secure.  For a finished look, pipe white frosting for a gleam in the eye.  At the ends of the front legs, use three banana runts (per leg) for the nails.  Lastly, cut the chocolate cookies diagonally in half and place on the alligator for the armor scales. 

For the mud, I only added some cut pieces of green licorice for a grassy look.

For the water, I added more cut pieces of green licorice for reeds and placed a few Swedish fish around.  For one cupcake, I also added a bird on the water.  You can find the bird from the sequel, "What's New, Cupcake?" on page 106.  Cut a marshmallow in half, and then again to create a crescent shape for the body.  Instead of using a mini-marshmallow for the head, I just used a small circle from the leftover marshmallow.  For the beak, I added a broken banana runt tip.  Then I used chocolate frosting to make an eye and wing. 

Trials and errors:  Piping the frosting for the alligator was time consuming.  As the frosting warmed, it became less edgy and more rounding scales.  Overall, still looks good.  Practice makes perfect.  Also, dying frosting a "murky" green was frustrating.  I googled it (because the book was no help) and  it said to use green, red, and yellow.  I don't know what I did, but it turned out PURPLE and in my attempt to fix that, GRAY.  I started over and ended up with what you see. 


As you can see from the first picture, I had a happy customer!  I'm glad it turned out so well and I can't wait for another order. 

Be Crafty,

Kris

Monday, September 19, 2011

"Something Blue"

Willow: "Well, baking lifts about 30% of my guilt. But only 7% of my inner turmoil."


I really do love the the pottery studio I go to.  And when I walked in early this spring, I saw a GIANT cupcake.  How could I NOT paint it!?! 
 
I wanted to make it fun and multi-colored.  It took many hours to finish, but I did it in one sitting.  Since it's an awesome storage cupcake, what better to use it for than cupcake liners?  I have so many and they were all over the place.  I've been using for a few months now and it has been a great accessory and storage container. 
 

During a visit from my mom, we decided to go to the studio and she painted a complimentary mini cupcake magnet for me.  It's super cute!  Thanks mom.
 

I hope you enjoyed this short, simple post about cupcake ceramics. 
 
Be crafty,
 
Kris

Sunday, September 18, 2011

"Bargaining Part 1"

Buffybot: "That'll put marzipan in your pie plate, Bingo!"


I have a friend who makes AMAZING pies and for his birthday, I made HIM pie for once.  Pie cupcakes!  These cupcakes do come from the "What's New, Cupcake" book. 

Ingredients:
Foil liners
Vanilla cupcakes
Vanilla Frosting - tinted slightly brown with peanut butter
Red and Blue m&ms
Cooling rack - for decorative purposes*
Sandwich bag - to pipe frosting, unless you actually have a piping bag

*You can also use the cooling rack to COOL the cupcakes.  ;)

These cupcakes are SUPER easy!  (It actually says that in the book, too)  Frost the cupcakes.  Arrange same colored m&ms on cupcake.  Red = cherry pie.  Blue = blueberry pie.  Using the sandwich baggie (or piping bag) to pie lines across the cupcake for lattice work and then around the cupcake for the crust.  Place finished cupcakes on cooling rack for display.


Trials and Errors: 

The book suggest another way to tint the frosting a light brown, but since 1) John LOVES peanut butter and 2) Peanut Butter is a brown-ish color, I used PB.  I think it turned out great!  And tasted quite yummy. 

I didn't really read the directions in the book at first about how to make the lattice work.  After getting super frustrated with sloppy, squiggly lines, I referred to the book.  Surprise!  They tell you how to make straight lines.  That's what I get. 

It's also a struggle being a lefty.  I read how to make the crust and while trying to figure out to do it with the opposite hand, I just ended up with not quite perfect crust.  Oh well.  It still looked okay.  And don't forget tasty!

Instructions (for retro cupcaker):
Sweet Apron
White Blouse
Skirt
Pearls
Updo
Heels
Smile
Cupcakes

Mix ingredients together and enjoy!

Be crafty,

Kris


My dog Maya thought they smelled great!


Friday, September 9, 2011

"Becoming: Part 2"

Spike: "What, your Mom doesn't know?"
Joyce: "Know what?"
Buffy: "That I'm, uh... in a band. A-A rock band with Spike, here."
Spike: "Right, she plays the, duh, triangle."
Buffy: "Drums."
Spike: "Drums, yeah. She's hell on the old skins, you know."
Joyce: (to Spike) "And what do you do?"
Spike: "Well I sing."


Happy Birthday to my friend Gus!

Gus plays drums and I wanted to try and give him some rockin' cupcakes.  So I went with a drum set.  Gus' favorite cake is red velvet, so I made that for him. 

Ingredients:
Red Velvet Cake - Jumbo Muffin, Standard and mini cupcakes
Cream Cheese Frosting
Black Icing
Nilla Wafers
Oreo
Gumdrop
Black Licorice niblet
Toothpicks

Since I wanted it to look as realistic as possible, while using the requested flavors, I unwrapped all the cupcakes.  Take the Jumbo cupcake, frost the top and bottom, and place on it's side.  This will be the bass drum. Using the licorice niblet, set against the back of the drum for the pedal.  Two of the standard cupcakes will be stacked for the floor tom and another for the snare drum.  Two mini cupcakes will be the smaller toms, attached to the bass drum with toothpicks.  Assemble as closely as possible.  Take two Nilla wafers and insert a toothpick through the center.  These will be the cymbals.  For the stool, take one Oreo, insert one end of a toothpick into the Oreo and the other end into a gumdrop. 

I added his name to the front of the bass drum and put records around the drum set.  The records are just mini cupcakes with black icing and cream cheese frosting in the middle. 


Drum set complete!


Be Crafty,

Kris

Monday, September 5, 2011

"Checkpoint"

Spike: "Don't make a lot of noise. Passions is coming on."
Joyce: "Passions? Oh, do you think Timmy's really dead?"
Spike: "Oh, no, no. she can just sew him back together. He's a doll, for god's sake."


I am so excited to say that I finally have my first sewing machine!

I know the basics of using one, but my mom will be coming to show me everything and then I can hopefully start sewing away! 

How did I come across this amazing machine?  Bear, my husband, and I decided to enjoy the Sunday afternoon and go to an estate sale.  As soon as I saw it, I knew that I had to have it.  The drop down sewing machine that folds into a table.  Beautiful.


But first I had to know if it worked.  Since it's been about 10 years since I've looked at one, it took me a bit to remember how to turn it on.  I knew to plug it in (I'm not THAT blonde!) but when I stepped on the pedal... nothing.  Hm.... surely I can figure this out.  I started pushing buttons and aha!  The light turns on.  So I know electricity is running.  I turn off the light and continue pushing buttons.  I finally break down and pull out the manual.  OH.  The light has to be on for the machine to run.  Turn light on, push pedal, and... SUCCESS! 

I can't tell you how excited I was. I know exactly where it's going.  I just have to make some room.  :)

Be crafty,

Kris

P.S.  Keep an eye out for some Cosplaying!  Austin Comic Con is coming up and hopefully I can start making some costumes soon!

Sunday, September 4, 2011

"Time of Your Life"

Erin: "Mel, what are we doing here?"
Melaka: "What we do.  Saving the world."

First off, this blog entry is dedicated to my friend and coworker, Melakeh, who is leaving the zoo on Sunday.  :(  As soon as I heard we were doing a going away thing at work, I knew I would make cupcakes for her.  What I didn't know at the time was how crazy I was.  I ended up making her cupcakes of ALL our animals.  Yes, I'm crazy.  But they turned out really great!!

Secondly, as we both have a love for everything Joss Whedon and Buffy, I knew I had to pick a good title/episode for her.  "Time of Your Life" just happens to feature a future slayer named, "Melaka."  How perfect!  Can I say how proud (and clever!) I feel to stay on my Buffy theme and use the Season 8 comic to do it!  (P.S. - Season 9 coming out soon!!!)


Back to the cupcakes--

The department in which we work allows us contact with many varieties of animals.  This will be a very photo-logged entry since I don't expect you all to know all the exotics that we work with, let alone how they should look.  I'll let you all be the judge, though I've already been told they're amazing! 

Hyacinth Macaw


Probably the easiest cupcakes I made.

Ingredients:
Royal Blue cupcake liner
Cupcake - I did chocolate
Royal Blue Icing  - purchased, there is no way I could make that color
Yellow melting wafer - cut with circle cookie cutter, for the skin around the eye
Black Icing - also purchased, for the eye
Oreo - halved and cut into beak shape

Blue and Gold Macaw


One of my favorites.  It's so colorful!

Ingredients:

Yellow cupcake liner
Vanilla Cupcake
Vanilla Icing
Aqua Blue, Light Green, and Yellow Sugar
Black Icing - for black feathers around beak, and for eye
Oreo - halved and cut into beak shape
Yellow Coated Candy (Reece's Pieces or M&M) - for eye
Black frosting writer - to mark black feathers on face near eyes


Spectacled Owl


Ingredients:
Brown cupcake liner
Chocolate Cupcake
Chocolate Icing
White Icing - for feathers around eyes and neck
Banana runt - for beak
Butter Rum Lifesaver - for eyes
Black icing - for eyes

Trials and errors: The Butter Rum lifesavers are disgusting.  They look GREAT, but I would try to find something new for the next time I make them.

African Penguin


Ingredients:
Black cupcake liner
Chocolate cupcake
Chocolate frosting
Oreo - halved with icing side up, for the body, the other half cut for wings
Mini Oreo - halved for head
Black licorice nubs - cut into beak shape
White icing - for white feathers around face
Black icing - for eyes
Black icing writer - for penguin markings (ex. the four spots identify our penguin Jack)

Silky Showgirl Chicken


Ingredients:
White mini cupcake liner
Vanilla mini cupcake
Vanilla frosting
Coconut - roll frosted cupcake in coconut to cover, for feathers
Black licorice nubs - cut into beak shape

Opossum


Ingredients:
White regular and mini cupcake liners - for adult and baby opossums
Vanilla cupcakes - regular and mini
Vanilla frosting w/crushed oreos - for grey and white fur coloration
Hershey's kiss - unwrapped and frosted, for snout
Pink jellybean - for nose, cut in half for baby opossum
Black licorice - cut for ears
Pink and Black icing - for eyes
Black icing writer - to add whiskers and mouth

Anatolian Shepherd


Ingredients:
White cupcake liner
Vanilla cupcake
Cookies & Cream Frosting
Oreo - halved and cut into ear shapes, frosted for furry ears
Hershey's kiss - tip cut for muzzle
Mini m&m - for nose
Brown jellybean - cut in half for eyes
Black icing writing - for eyebrows

Alligator


Ingredients:
Chocolate cupcake
Chocolate frosting
Oreo - sides cut at angle for tapered snout, remember to keep rounded snout for alligator
Green Fruit Loops - for eyes
Black icing - for eyes
Blue and brown candies - shaped for target :)

Serval


Ingredients:
White cupcake liner
Vanilla cupcake
Peanut Butter frosting
White Icing - for mouth
Black Icing - for markings, mouth, and eyes
Black licorice nubs - cut into triangle for nose
Green mini m&ms - for eyes
Caramels - shaped for ears

Trials and errors: Don't use caramel!!  It melts!

Golden Lion Tamarins


Ingredients:
White mini cupcake liners
Mini vanilla cupcakes
Vanilla frosting
Orange and Peanut Butter melting wafers - melted and shaped into tamarin face
Black icing writer - for facial features

Madagascar Hissing Cockroach


Ingredients:
Black cupcake liner
Chocolate cupcake
Chocolate frosting
Oreos - crushed, roll and cover frosted cupcake, for dirt
Caramel - shaped into cockroach shape
Black icing - for legs, head armor and markings

I hope that she finds something wonderful and new, but we are going to miss her very much!  Here's to having the "Time of Your Life!" 

Be crafty,

Kris